Special Guest: Pat Carroll
Season 18 Episode 1803 | 26m 46sVideo has Closed Captions
Internationally renowned turner, Pat Carroll takes over the Woodsmith Shop on this episode.
Internationally renowned turner, Pat Carroll takes over the Woodsmith Shop on this episode. He starts by making a round lidded box. The next step? Use a router at the lathe to carve the surface then add a decorative painted finish.
Problems playing video? | Closed Captioning Feedback
Problems playing video? | Closed Captioning Feedback
Woodsmith Shop is a local public television program presented by Iowa PBS
Special Guest: Pat Carroll
Season 18 Episode 1803 | 26m 46sVideo has Closed Captions
Internationally renowned turner, Pat Carroll takes over the Woodsmith Shop on this episode. He starts by making a round lidded box. The next step? Use a router at the lathe to carve the surface then add a decorative painted finish.
Problems playing video? | Closed Captioning Feedback
How to Watch Woodsmith Shop
Woodsmith Shop is available to stream on pbs.org and the free PBS App, available on iPhone, Apple TV, Android TV, Android smartphones, Amazon Fire TV, Amazon Fire Tablet, Roku, Samsung Smart TV, and Vizio.
Providing Support for PBS.org
Learn Moreabout PBS online sponsorship[ Power saw whirring ] [ Mid-tempo music playing ] Hi, and welcome back to "The Woodsmith Shop."
On today's episode, we have a special guest, Pat Carroll, all the way from Ireland to come and do some boxes that are made on the lathe.
Turns out there's a lot to learn here.
There's a lot of finishing and turning techniques that you're going to learn, as well as being able to set up and organize your work effectively.
And it's all coming up right now.
Announcer: Major funding for "The Woodsmith Shop" has been provided by... Old Masters -- offering wood stains and finishes for the woodworking enthusiast and professional.
And by... Kreg -- from the first cut to the final assembly, providing woodworkers with products that help to simplify woodworking challenges.
Kreg.
Additional funding provided by... ...Titebond Wood Glues -- the pro's advantage.
And by...
Here at Grizzly, woodworking isn't just our business, it's our passion.
We love what we do.
Thank you for the opportunity to support "Woodsmith Shop" TV.
♪♪ ♪♪ ♪♪ As much fun as I have building project here in the Woodsmith Shop, it's always great to have a special guest in that incorporates a few different tricks.
And today's guest, Pat Carroll, is gonna combine two tools that you probably wouldn't think go together very well -- the lathe and a router.
Now, Pat, what's your project today?
Phil, today's project is a box.
So, we have this lidded vessel, and we're going to -- as you said, we're going to use the router to get some design on the outside, and then to finish it off we're going to apply some color to further enhance this.
Okay.
So, the first thing is to just turn this into a round.
Basically start with a round box, right, and make the lid for it.
And where's that starting?
Okay.
So we have our piece of wood here.
We're going to, as you said, get it on the lathe, bring it to the shape that we want, and basically then get it set up for the router, and we'll go from there.
Now, how did you come up with using a router to do the surface decoration?
Well, I work as a carpenter a lot, so I'm well-versed with using routers.
So I just wanted to bring that into my wood turning just to add another element to it.
So we're trying to do something a little bit different other than the usual round and brown.
[ Chuckles ] So I came up with this design then.
So, yeah.
Yeah.
And what I like about it is the finishing step, because, again, it's not just oil and wax on there, polish it up and you're done.
Right?
Mm-hmm.
Yep.
There's a little bit more in this one because there's different colors just to create a different patina on it.
Yeah.
Um, so, yeah, there's a lot... You can do so much with the colors and the finishes.
And of course, if you wanted to leave it natural, that's entirely up to you as well.
Right.
So, on this episode, there's gonna be a lot going on.
It's been a lot of fun watching Pat and his techniques, especially not only the turning part of it and the routing, but also the finishing.
I'm sure no matter what kind of woodworking you're gonna do that you're gonna learn something from this episode.
So now... it's up to you.
Thanks, Phil.
Okay.
So I'm going to use my spindle roughing gouge and bring this piece to a round firstly.
♪♪ ♪♪ To create the tenons, I want to measure inside diameter of the chuck and just transfer it onto the end of -- both ends of the piece.
Okay, so we have the peace now secured in the chuck, and I also have the tailstock brought up for support.
So if we look at the original... we can see that we have the joint where the lid fits on.
So there's some waste wood here, so we have to take that into consideration.
And also there'll be some waste wood at the bottom which I will use for a jam chuck later.
So, I'm just gonna put a pencil mark here for reference.
So this is where I'm going to part the piece off.
But firstly, I'm going to establish the tenon on the base.
♪♪ So, I have created a recess here, and I also have to factor in that I'm going to be cutting them with the router, so I have to leave some wood here to take that into consideration with the shape and the design.
So now I want to cut in here with the parting tool, again, to remove the base from it.
But I'm gonna part a little bit away from what is the lid to leave a reference mark.
♪♪ ♪♪ Okay, so I haven't gone all the way in with the tool because of the pressure of the tailstock here.
It would bind on the tool and the piece would obviously come off the lathe.
So if you're not comfortable to cut in as far as I have, well, then use a saw.
Okay.
So now we can see the reference line here at the end, which matches up almost with the tenon, but it gives me something to work to when I'm gonna hollow out in here.
I'm going to use a 1/2-inch spindle gouge here just to true up the face of the piece, and then just to create a small hole by bringing the tool around to get the tip right on center.
By creating that little "V" here in the center, it gives me a starting point for the tip of the tool that I can do some of the bulk removal.
Once I'm deeper than the tenon, it just leaves me room there to fit in.
I'm going to go in here with my negative rake scraper.
I'm not going straight in.
I'm going to create a cone shape.
So as this goes in, it should tighten.
And in case I've messed up at the very outside, it leaves me a reference line there that I can true it up after.
Okay, so I'm just going to do some shaping on the outside with the spindle roughing gouge.
♪♪ ♪♪ I've done some rough shaping here, and if we look at the original again, we can see that I have some waste wood here on the bottom, but I have to be able to allow for the router to travel down here freely and not have a bulk piece of wood here that's going to stop it from traveling all the way out, that we get some clean lines on it.
Pat, the turning so far has been pretty straightforward work.
Yep, for sure.
But now you have quite a bit of a different setup going on here.
Can you explain what's going on?
We've a lot going on here now, Phil, because we have our router jig in.
We have a base for that to float on.
Okay.
We also are going to incorporate the index system of the lathe to help make sure that these are uniformed, and obviously we get more than one on there.
Um, so yeah.
And also the bit that we're going to use is this little guy here.
This is a larger version of it.
Sure.
It's a V-groove, which will give us these uniformed grooves basically.
Okay, so what we have is just a wide piece of plywood that's gonna serve as kind of a benchtop, right?
Exactly.
Okay, and then you have this jig here that holds the router right at the center line.
Yep.
Exactly.
It's really important as on center to keep the grooves uniformed.
It's a commercially available jig that we can just alter the height to suit different machines as well.
So it's very versatile in that way as well.
Yeah.
Now, if you want to build or make a box like this yourself, the plans are at our website, WoodsmithShop.com.
In those plans, you'll find instructions on how to make your own jig like this out of some plywood.
Now, one of the next steps here is to know that, at this point, the lathe isn't gonna be running.
No, this is where the power is coming from.
Okay.
And as wood turners, our natural reaction sometimes is to turn on the lathe when we come to it, so it's not a bad idea to plug out the lathe.
Yeah.
Then because our chuck is locked here, it cannot move anyway.
Okay, so we're using the lathe kind of like a vise.
Yeah, exactly.
And then there's an indexing feature on lathes that allows us to be able to rotate it in very fine increments.
Yep.
Okay.
This one has multiple indexing on it, so it's very versatile.
Okay.
So you're just gonna rout a groove, rotate it slightly, repeat.
Sounds like a lot of work.
A lot of repetitive work.
Okay.
Alright.
We'll let you get started on that and, uh, check in with you in a little bit.
Now that I'm ready to create the grooves on the surface of the piece, I have to establish the depth that I want the router bit to protrude.
Um, so I have to do some trial cuts and then gradually work out the indexing as I go along.
♪♪ ♪♪ ♪♪ So, we have the first series of grooves done using the indexing system that divided it into 12.
But using this system, I'm now going to measure here to divide the area that's left.
And I'm going to find the center... which is here.
And just to double check that... Because of the shape, it may vary slightly.
And what I want to do now is just loosen it in the chuck and bring that down... ...to get that on center again with the router.
So we're now ready to cut the next series of grooves.
♪♪ ♪♪ ♪♪ ♪♪ ♪♪ Okay.
So that's all of our grooves cut.
So, as we can see, there's a lot of fibers there, so I'm going to have to get some sandpaper... and I'm going to crease it over, and I'm going to go gently up between each groove.
And I'll go through a number of grits of sandpaper, but I want to be careful not to lose the detail that we spent so long creating here as well.
So, now we have the grooves sanded up -- a little bit of refining when it's finished -- let's pop this guy off here.
And we're going to hollow out the underside of the lid.
So I have my drill bit here ready with a dip stop indicated by the tape.
♪♪ ♪♪ ♪♪ ♪♪ ♪♪ Okay, so a little bit more fine sanding there and we're good to go.
Now we turn our attention to the outside of the top.
As we can see by the mark here, the indicator mark, that is what I need to remove.
I've measured the inside.
I've left a wall thickness there of just over 1/4 of an inch so it's not too heavy, and I can remove this portion here now.
♪♪ I'm going to cut off the remainder, and I'm just going to sand that, and we'll set up the router.
Okay, so we have the top finished, sanded up, and we're now ready to do some routing across the surface.
So the important thing here is that the point of the router fits exactly into the bottom of that "V" that work out our line and we get nice crisp edges on the top.
♪♪ ♪♪ We just do the same as we did on the sides.
Just go in between this each time until we align all of the grooves.
♪♪ Okay, so now we're ready to hollow out the base.
♪♪ ♪♪ ♪♪ ♪♪ ♪♪ Okay, so we've hollowed all the way down.
I have a little bit of refining to do on the sides and then just some sanding, and that's the inside complete.
The box is looking great here.
Yep.
And now it's time to move on to the finishing part of it, which is gonna be its own process.
For sure, Phil.
Um, what we did on the original is we had some gilt cream, we had various colors and gave us that finish.
So this time, just to change it up a little, we're going to use a metal-reactive paint.
Oh.
We're actually going to use two at once.
So we have some primer, then we have some copper and then some bronze.
And then we have our activator.
And when it's all finished, we're going to seal it with this sealer here just to seal it all up because it will keep oxidizing if we don't.
Yeah, so you can choose what the final look is gonna be depending on how long you wait.
Exactly.
That does make a difference.
And, plus, you can come along and add more to it in different areas just to give more of a patina in certain parts of it.
Okay.
And so, yeah, it's infinite what you can do with products like this.
There are so many there, so... And I think that's the great part about it is because there's really a temptation to want to finish a project and just get it done, but you can really add to the depth of it, like on this box, that it really brings out the grooves and the shapes of it by having a layered finish.
Yeah.
You're exactly right.
It's not an instant finish.
You have to build it up because, firstly, we have the primer.
We have to let that dry.
And we could do, let's say, the copper first.
Let that dry, and then enhance that a little with the bronze.
But we're going to blend it together.
But it's still a slow process to make it work for you.
After all of our work here with the router, it's just a pity to rush it and just try to do a one-coat magic coat.
That doesn't happen.
[ Chuckles ] What we're gonna do now, then, is apply the primer, right?
Yes.
Alright.
Let's get started.
So the thing about the metal-reactive paints is to be liberal with the paints.
If you have very fine detail, it may clog up some of the areas, but it's just part of the finish.
So we have our grooves here... and also we have the joint.
But where the joint is, if a little bit happens to bleed in there, I can simply just, when the lid is off, I can hand-sand that back off it.
So we're not overly worried about that.
♪♪ ♪♪ ♪♪ Okay.
So we're going to leave this to dry, following the manufacturer's guidelines.
And then we're going to move along with the reactive paints.
Our primer is now dry, and we're going to apply our metal-reactive paint.
And we have some bronze and some copper.
So, normally I do these completely separate, but just for this project, for fun, I'm going to actually combine the two colors.
I'll try to keep them a little bit separate, but they will blend into each other, and that's just part of the fun of watching how the colors evolve.
So I've given these a really good mix, and we're going to start with the bronze.
I do have an activator here to spray over the surface.
And as you can see, I have the surface protected here with some paper.
Um, it will cause -- there are the iron-reactive paints that can cause rust on your machinery, so just to be careful of that.
So you can see I'm just being really liberal with the paint.
It just adds to the patina with this particular paint, so I'm not being overly fussy how I apply it.
It will obviously run down a little bit when I apply the activator, but you can build up a great patina with several small layers.
But just for fun here, we're applying a very liberal coat.
Okay.
And as you can see, I'm wearing gloves just in case there is any, uh, reactions to it, but thankfully I have never had that yet.
Okay, so we'll just leave that to one side... and I'll get my other color, which is the copper.
I have given these a really good mix before opening them.
And again, I'm just going to... apply that really liberally.
And we have a -- the grooved surface here, so... if you have a smooth surface, you can just dab the brush on to give you a texture.
You can even use a sponge.
With these types of paints, it's just infinite with the results that you can achieve.
So I'm dabbing this one on.
Although we're mixing the paints, I am trying to keep them that little bit separate.
We do still have to remove the bottom of the box, but this just makes it handy to give me a plinth almost just to keep it elevated... because when we remove the bottom, we will have that natural wood.
So, this will take some hours for it to... fully cure, if you like.
But we can always add on later by building up the colors, even to do them individually in specific areas.
And I'm just going to spray on the activator.
And, again, I'm being very liberal with this.
Okay, and that's it.
Let the paint do its magic.
So, it's been a number of hours, and our patina has come up really nice.
Now we still have to put on the finish coat, but what I want to do now is remove the bottom.
So I have set up a jam chuck here, just basically a scrap piece of wood.
And we have sized it just to suit that this will just fit on nicely.
Not too tight because it will crack and we don't want to waste all of that wonderful work.
So I'm just going to bring up the tailstock for support, get this in place.
I have already predetermined the depth that I need to go to, but if I leave a little bit of excess wood there, I don't mind.
The important thing here is the shape and obviously that we have the flutes running all the way to the bottom.
So I'm going to use my spindle gouge just to clean off the bottom.
I'll keep the tailstock in place for as much as the work that I possibly can.
So really important that I get the tool rests in the right position, because I don't want to have the tool running out and damaging all of that work that we put into the piece.
So, I just want to check where my reference is, and I know it was where the shortest flute was.
I don't want to have a flute coming down, and then there's a bulk amount of wood there.
And that looks good.
So one more cut across here, maybe two, just to clean up that surface.
But I do want to just check that my shape as good as well.
That's really important.
Okay, so even though I have that pushed up on the jam chuck, I'm still going to cut off that excess and I'm just going to sand it with the arbor in the cordless drill.
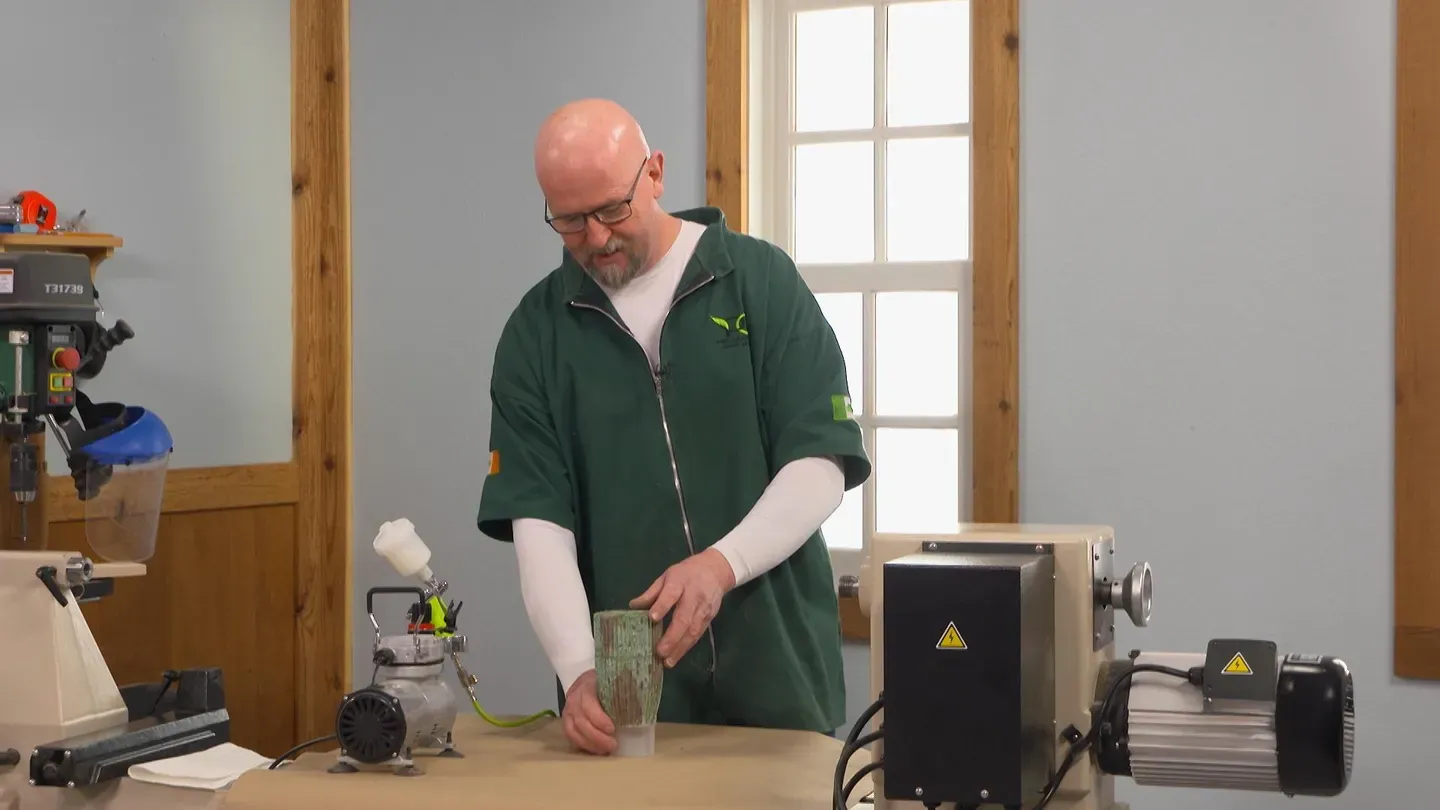
Now that we have the sanding finished, I'm going to apply some water-based urethane as the final coat on this piece.
It will take a number of coats.
We're going to use this airbrush.
And just a little tip here -- the lids off of your aerosols are really good little plinths just to bring it up and you have a very minimal surface that it won't stick to it.
So I'm just going to center that on here.
We have our ventilation in place, windows are all open.
It's going to be very minimal, but we're just going to apply several light coats.
So as with any finish, I'm not trying to do it in one huge buildup.
It takes a little while, but this particular finish, once it's sealed, it stops it from oxidizing.
So make sure you're happy with this finish before you seal it.
Um, you can, of course, build it up with more paints.
It's not an issue.
So I'm just putting on a very light coat just to start.
♪♪ ♪♪ I really enjoyed having Pat on today's episode, and in making this turned box, there are so many lessons to be learned.
And even if you're not a turner, it's being able to show off what you can really do with wood as a material.
You can create interesting shapes and geometric patterns, as well as apply interesting techniques to it to finish it that'll give it a unique look.
If you're ready to make a project like this, the plans are at our website, WoodsmithShop.com.
That's also the place where you'll find other great ideas for more woodworking projects, videos on how to become a better woodworker, and the tools and skills that you need.
And then we'll come right back here to the Woodsmith Shop, where we'll build another great project.
See you next time!
♪♪ ♪♪ ♪♪ If you'd like to get more video tips and techniques, sign up for the free weekly Woodsmith eTip.
Every week, you'll receive an e-mail with a video tip to get more out of your table saw, router table, and more.
Sign up at WoodsmithShop.com.
Everything in today's show comes from the newly expanded Woodsmith Guild Edition with shop projects, plans, tips, and techniques.
To get a free preview issue of the Woodsmith Guild Edition and a free Woodsmith book, go to WoodsmithShop.com.
In addition, past seasons of "The Woodsmith Shop" are available on DVD, or you can watch them online from your computer, tablet, or mobile device.
For more information, go to WoodsmithShop.com.
Announcer: Major funding for "The Woodsmith Shop" has been provided by... Old Masters -- offering wood stains and finishes for the woodworking enthusiast and professional.
And by... Kreg -- from the first cut to the final assembly, providing woodworkers with products that help to simplify woodworking challenges.
Kreg.
Additional funding provided by... ...Titebond Wood Glues -- the pro's advantage.
And by...
Here at Grizzly, woodworking isn't just our business, it's our passion.
We love what we do.
Thank you for the opportunity to support "Woodsmith Shop" TV.


Support for PBS provided by:
Woodsmith Shop is a local public television program presented by Iowa PBS